How to arrange a small kitchen for easier baking
· Editorial team seattlenewsdaily7.com
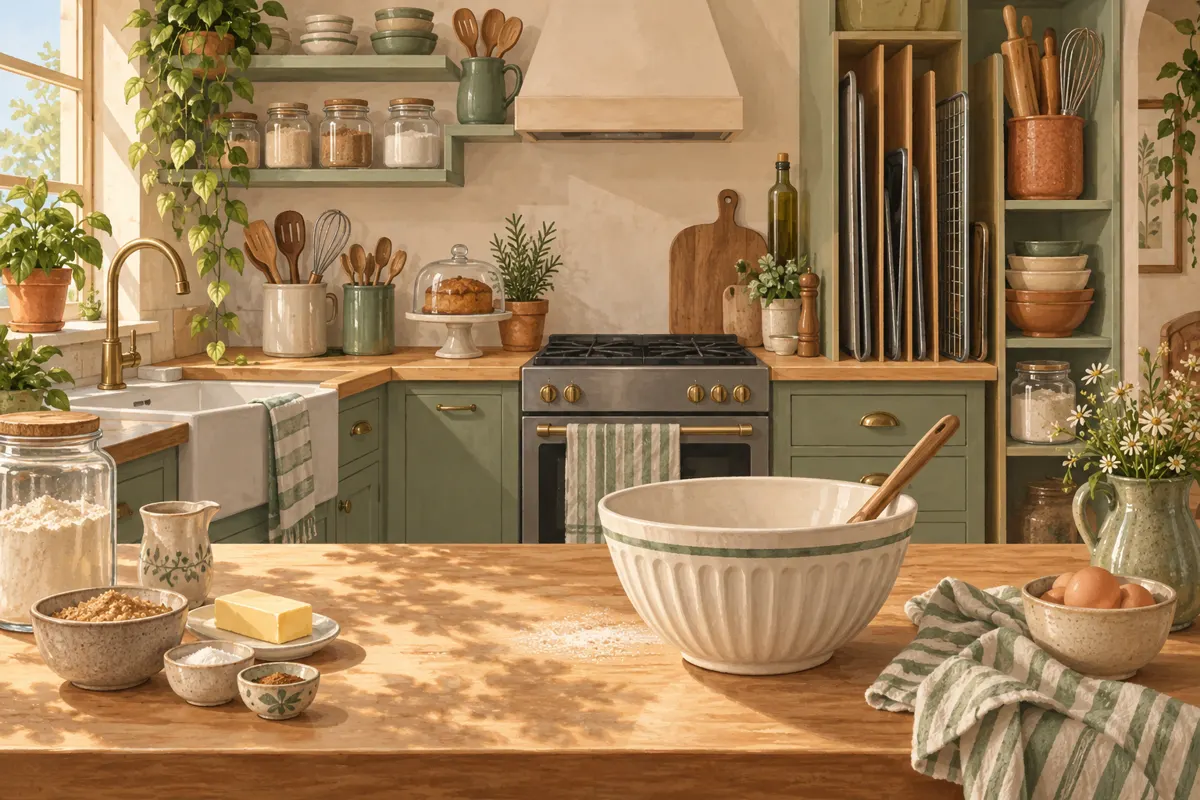
Arrange a small kitchen around the order you bake: gather ingredients, measure, mix, shape and bake. Keep frequently used tools together, store baking sheets vertically and clear one continuous preparation surface before you start. The proposed layout below gives each stage a place without requiring a dedicated baking counter.
Group baking tools by the job they do
Start with the recipes you make most often. If you usually bake cookies, keep your mixing bowl, measuring tools, spatula and cookie scoop within easy reach of the preparation area. Equipment for occasional projects can live farther away. This proposed arrangement prioritizes what you actually use over displaying every baking accessory.
- Measuring: group measuring cups, spoons and a kitchen scale, if you use one, in a drawer or removable container.
- Mixing: nest compatible bowls and keep whisks and spatulas nearby.
- Shaping: store the rolling pin, dough scraper and cutters together.
- Finishing: give piping tips, decorating tools and other small accessories a separate box.
Avoid packing each group so tightly that retrieving one item means emptying the container. Put the tools for your usual bake at the front, and return each group to the same place afterward.
Store trays vertically and nest bulky pieces
A practical proposal for a narrow cabinet is to store baking sheets, muffin pans and cooling racks upright in a stable divider. Give each piece enough room to slide out without dragging its neighbors along. Check the cabinet opening as well as its interior: a tray that fits inside still needs a clear path through the door.
Nest cake pans and bowls where their shapes allow, keeping the most-used size accessible. Keep heavy equipment on a shelf you can reach comfortably. Before buying organizers, try the arrangement with your existing equipment and measure the space left over. A divider is useful only if it accommodates the pans you own.
Clear one preparation surface
Freeing an existing worktop is one way to create more room for cooking and baking. Shallow wall shelves or rails can move suitable utensils and containers off the counter while keeping them accessible. Choose a location that leaves cabinet doors and your working area clear.
For baking, the proposed priority is a continuous patch of counter large enough for your bowl and the recipe’s next step. Temporarily relocate items that do not belong to the task. Decide where they will go beforehand so clearing the counter does not simply create a crowded dining table.
- Leave room beside the bowl for measured ingredients.
- Keep the route between the preparation area and oven clear.
- Reserve a suitable heat-resistant landing spot for hot pans before baking begins.
Make temporary workspace easy to put away
A sturdy, well-fitting board over the sink can extend a worktop, while a kitchen trolley can provide movable workspace and storage underneath. These are options described in the supplied kitchen organization source; choose according to the space available.
If you use a sink board, make sure it stays securely in place and can be removed easily when you need water. Do not balance an ordinary board across an opening where it can tip. For a trolley, check that its working position leaves enough room to move and open the oven.
Our proposed setup is to use the extra surface for ingredients or shaping dough, with a designated storage spot for the board or trolley afterward. Avoid making temporary workspace the permanent home of unrelated objects.
Set up and reset in the same order
Use this proposed routine to keep a small kitchen manageable through the whole recipe. Prepare only what the next stage needs, then return items when you have finished using them.
- Read the recipe and clear the preparation surface and hot-pan landing spot.
- Bring out the required tools, pans and ingredients.
- Measure ingredients, then put away packages you no longer need.
- While the bake is in the oven, wash tools you have finished with and clear space for cooling.
- Once equipment is cool, clean and dry, return it to its assigned group and put away the temporary surface.